Printing photos at home often feels like a choice between wasting expensive photo paper on a single small image or struggling with complex design software to fit everything onto one sheet.
However, whether you are creating a custom photo collage, printing professional business cards, or preparing ID photos, learning how to efficiently arrange multiple images on a single page can save you both time and money.

Why Print Multiple Photos on One Page?
Printing multiple images per sheet isn’t just about saving paper; it’s about precision and creativity. Common real-world applications include:
- DIY Photo Albums: Create consistent 4×6 or 5×7 prints for scrapbooking.
- Professional Needs: Print a full sheet of identical business cards or company logos.
- Official Documentation: Arrange several passport or visa-sized photos on a single sheet to meet application requirements.
- Large-Scale Projects: Tiling a single high-resolution image across multiple pages to create a custom poster.
Start with the Right Page Setup
Before adding a single image, you must ensure your digital canvas matches your physical paper. If these don’t align, your prints may be clipped or off-center.
Choose Your Dimensions and Orientation
Most printers use A4 or Letter size as a default, but you can also select specialized sizes like 4×6 inch photo paper.
- Portrait (Vertical): Best for standard documents and upright portraits.
- Landscape (Horizontal): Ideal for wide-angle shots or panoramic layouts.
Set Your Margins
Standard desktop printers usually require a “safety zone” or margin (often 0.5 inches) to prevent the edges of your photos from being cut off. If your printer supports borderless printing, you can set these margins to zero for a “full-bleed” look.
Use Intelligent Containers for Fast Layouts
The most efficient way to print multiple photos is by using “container shapes.” These tools automatically handle the math of rows and columns for you.
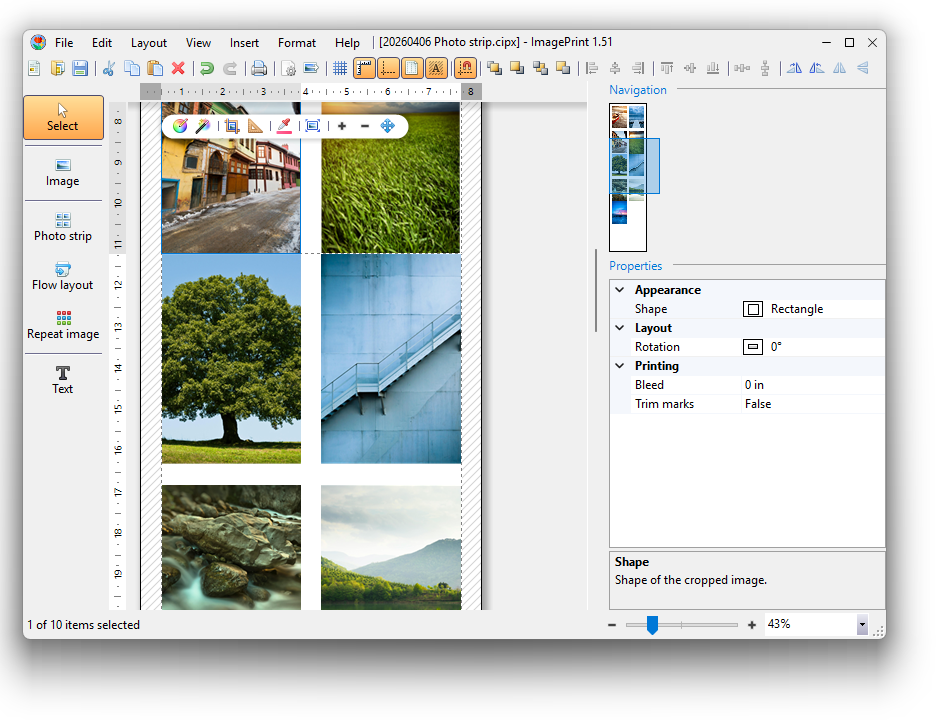
The Photo Strip: The Easiest Grid
The ![]() Photo Strip is the go-to tool for a quick collage. You specify the number of rows and columns, and the software arranges your photos in a perfect grid.
Photo Strip is the go-to tool for a quick collage. You specify the number of rows and columns, and the software arranges your photos in a perfect grid.
- Example: If you want eight photos on one page, set your grid to 2 columns and 4 rows.
- Pro Tip: Use drag-and-drop to rearrange the order of photos within the grid instantly.
The Flow Layout: For Precise Sizing
While the Photo Strip fills a grid, the ![]() Flow Layout gives you more control over the exact size of each photo. Images are arranged from top-to-bottom and left-to-right, much like text in a document.
Flow Layout gives you more control over the exact size of each photo. Images are arranged from top-to-bottom and left-to-right, much like text in a document.
Specialized Printing: ID Photos and Repeat Images
If you need multiple copies of the same image (like for a Visa application), use a ![]() Repeat Image tool.
Repeat Image tool.
- Select Your Size: Choose from built-in standard sizes for hundreds of countries (e.g., 2×2 inches for U.S. Visas).
- Fill the Page: The tool will automatically duplicate your photo to fill the paper efficiently.
- Add Trim Marks: To make cutting easier, enable Trim Marks. These small lines show exactly where to cut for a professional finish.
Final Quality Checks Before You Print
To ensure your photos look as good on paper as they do on your screen, follow these final steps:
- Check the Resolution: For high-quality professional printing, ensure your document is set to at least 300 DPI (Dots Per Inch).
- Auto-Adjust Colors: Use “Auto-Correct” features to instantly boost brightness, contrast, and saturation across all selected photos.
- Test Print: Always run a test print on inexpensive plain paper before using your premium glossy photo paper. This helps you catch alignment or color issues at a low cost.
For a more comprehensive tutorial, please have a look at How to Print Multiple Photos on One Page.