If you’re looking for the best photo printing software, you need more than just basic editing—you need full control over layout, size, quality, and output.
This guide shows you exactly how to print photos at home with ImagePrint, including:
- Printing multiple photos on one page
- Creating large posters across multiple pages
- Printing passport-size photos
- Optimizing print quality and layout
Whether you’re printing family photos or professional images, this step-by-step guide will help you get perfect results every time.
- Why Use Photo Printing Software?
- Step 1: Set Up Your Page for Printing
- Step 2: Print Multiple Photos on One Page
- Step 3: Print Large Photos Across Multiple Pages (Poster Printing)
- Step 4: Print Passport Photos at Home
- Step 5: Optimize Print Settings for Best Quality
- Step 6: Use Print Preview Before Printing
- Bonus: Export Photos to PDF
- Final Thoughts: Best Way to Print Photos at Home
Why Use Photo Printing Software?
Modern photo printing software gives you complete control over how your images appear on paper. Instead of relying on default printer settings, you can:
- Arrange photos in grids or custom layouts
- Print multiple pictures on one page
- Create posters from a single image
- Adjust margins, DPI, and scaling
- Preview prints before printing
Setting up your document correctly is the first step toward a perfect print.
Step 1: Set Up Your Page for Printing
Before printing photos, you must configure your page layout.

Key settings to optimize:
- Page size (A4, A3, 4×6, etc.)
- Orientation (portrait or landscape)
- Margins (borderless vs standard)
Margins create a safety area to prevent images from being cut off.
Pro tip:
- Use borderless printing for full-photo prints
- Use 0.5-inch margins for safe home printing
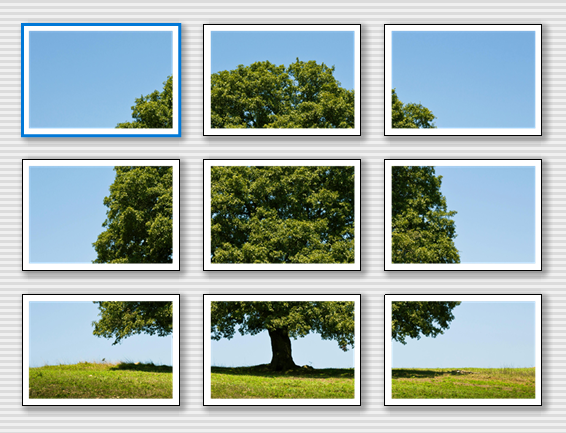
Step 2: Print Multiple Photos on One Page
One of the most searched features is:
“How to print multiple photos on one page”
With the right tools, this is simple.
Use grid layouts like:
 Photo strip → arrange images in rows and columns
 Flow layout → control exact image sizes and spacing

These layouts allow you to:
- Create photo collages
- Print contact sheets
- Fit many images onto a single page
Images can be automatically arranged and resized to fit the page perfectly.
Control Spacing and Layout
Spacing determines how images fit on a page.
- Adjust horizontal and vertical spacing between photos
- Reduce spacing to fit more images
- Increase spacing for cleaner layouts
Spacing also affects how images flow across pages.
Step 3: Print Large Photos Across Multiple Pages (Poster Printing)
Want to turn a single image into a poster?
This is called poster printing software functionality. It is well-supported in ImagePrint.

How it works:
- Add your image
- Resize it larger than a single page
- The software automatically splits it across pages
When the image exceeds the page size, new pages are added automatically.
Pro tips:
- Enable auto-size to generate additional pages
- Match orientation to your image
- Crop carefully for perfect alignment
Step 4: Print Passport Photos at Home
Another high-demand keyword:
“Print passport photos software”

You can easily print passport or ID photos using:
 Repeat Image feature → duplicates the same image
- Aligns multiple copies on one page
This is ideal for:
- Passport photos
- Visa photos
- Wallet-size portraits
Photos are duplicated and arranged automatically on the same paper.
Professional Finishing: Bleed and Trim Marks
For professional-quality prints:
Use bleed:
- Adds extra space outside the image
- Prevents white edges after cutting
Use trim marks:
- Shows exactly where to cut
This ensures clean, edge-to-edge prints without misalignment.
Step 5: Optimize Print Settings for Best Quality
DPI (Print Resolution)
Choosing the right DPI is critical:
- 300 DPI → fast, lower quality
- 600 DPI → balanced quality
- 1200 DPI → high-quality photo printing
- 2400 DPI+ → professional prints
1200 DPI is ideal for most photo printing
Paper Type
Always match the paper type:
- Plain paper
- Glossy photo paper
- Matte paper
Incorrect settings can cause:
- Smudging
- Faded colors
- Poor ink absorption
Color Mode
- Use color for photos
- Use grayscale to save ink
Scale and Size
- Keep scale at 100% for accurate prints
- Resize images instead of scaling in print dialog
Step 6: Use Print Preview Before Printing
A live preview shows exactly how your photos will print.
You can:
- Check layout
- Adjust spacing
- Verify page breaks
The preview updates in real time based on your settings.
Advanced Tip: Fix Printing Issues
If prints don’t look right:
Enable “Print as Image”
- Converts layout into a single image
- Fixes compatibility issues with printers
Useful when elements are missing or rendering incorrectly
Bonus: Export Photos to PDF
Instead of printing directly, you can:
- Export layouts as PDF
- Share or print later
- Maintain consistent formatting
PDF export preserves layout and quality for future use
Final Thoughts: Best Way to Print Photos at Home
The best photo printing software gives you full control over:
- Layout and positioning
- Print quality (DPI)
- Paper size and margins
- Multi-photo and poster printing
With the right setup, you can:
- Print professional-quality photos
- Create posters and collages
- Produce passport photos at home