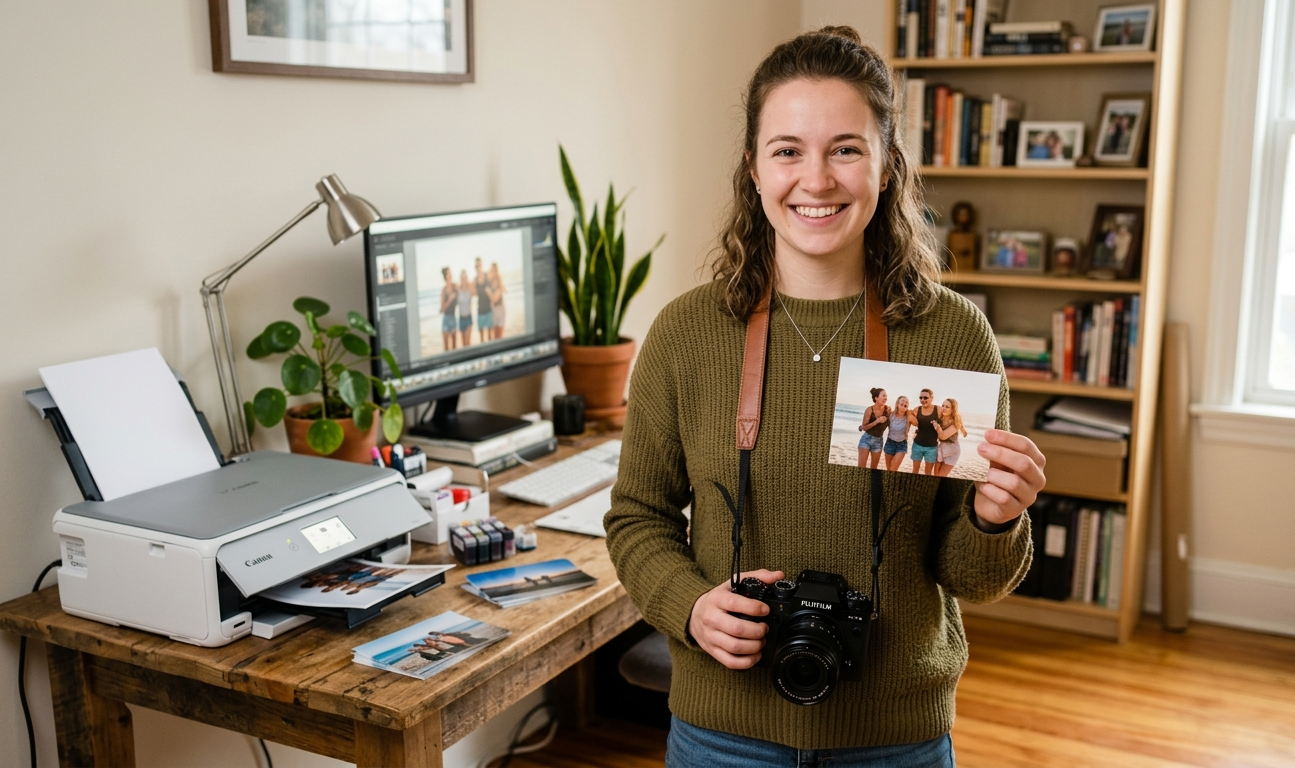
For many photographers, the journey ends at the export button. However, there is a overwhelming magic in holding a physical print that a screen simply cannot replicate. Learning how to print photography at home allows you to reclaim total creative control over your work, from the first shutter click to the final printed sheet.
In this guide, we’ll break down the essential gear, the calibration secrets, and the technical workflows you need to produce gallery-quality prints without the trial-and-error waste.

1. Choosing the Right Printer: Inkjet vs. Dye-Sublimation
The foundation of your home studio is the printer itself. While consumer-grade office printers are fine for documents, photography requires specific technology.
- Inkjet Printers (Pigment-Based): The gold standard for professional photographers. Pigment inks offer incredible longevity (often 100+ years) and a wider color gamut.
- Inkjet Printers (Dye-Based): These are generally faster and cheaper. They produce vibrant colors on glossy paper but are more prone to fading over time.
- Dye-Sublimation: Best for small, 4×6 “snapshot” style prints. These use heat to transfer dye and are excellent for portable event printing.
Pro Tip: Look for a printer that supports at least 8 to 12 individual ink cartridges. More cartridges mean smoother gradients and deeper, more nuanced “rich blacks” in monochrome shots.
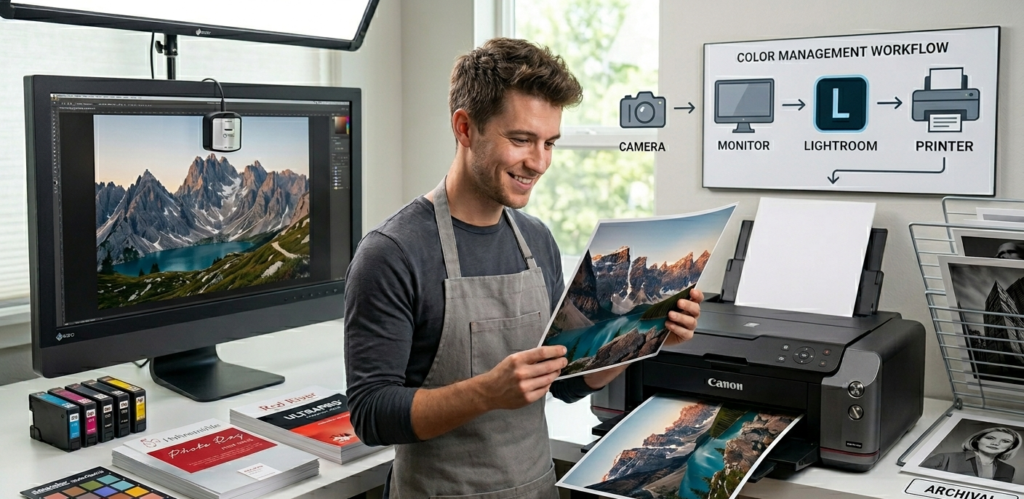
2. The Secret to Accuracy: Monitor Calibration and ICC Profiles
The most common complaint in DIY printing is: “My print doesn’t look like my screen.”
To fix this, you must bridge the gap between light-emissive (monitor) and light-reflective (paper) mediums.
Monitor Calibration
You cannot trust your eyes to judge color. Use a hardware calibrator (like a Datacolor Spyder or X-Rite i1Display) to ensure your monitor is showing “true” colors. Set your brightness to a lower level (usually between 80–120 cd/m²) so you don’t over-edit your shadows.
Understanding ICC Profiles
An ICC Profile (“International Color Consortium”) is a small file that tells your printer exactly how to interpret colors for a specific paper.
- Always download the “Paper Profile” from the manufacturer’s website (e.g., Hahnemühle, Red River, or Epson).
- In your print settings, let the Software Manage Colors, not the printer.
3. Selecting the Best Photo Paper
Your choice of “substrate” changes the emotional impact of the photo.
| Paper Type | Best For… | Visual Characteristics |
| Glossy | High contrast, vibrant colors | Highly reflective, deep blacks, prone to fingerprints. |
| Luster/Satin | Portraits, wedding photos | A “pebbled” texture that hides fingerprints; a professional standard. |
| Matte/Fine Art | Landscapes, artistic b&w | No glare, soft aesthetic, feels like heavy watercolor paper. |
| Metallic | Architecture, automotive | High-gloss with a unique “glow” that makes colors pop. |
4. The Digital Darkroom: Soft Proofing in Lightroom and Photoshop
Before you hit “Print,” you should perform a Soft Proof. This allows the software to simulate how the image will look on a specific paper type, highlighting “out of gamut” colors that the printer cannot physically reproduce.
- Enter the Develop Module in Lightroom and press “S.”
- Select your ICC Profile for the paper you are using.
- Adjust exposure and saturation to compensate for the “dulling” effect that happens when ink hits paper.
5. Cost Analysis: Is Home Printing Worth It?
While the upfront cost of a wide-format printer and archival ink is high, the “cost per print” drops significantly over time.
- Commercial Lab: $5–$15 per 8×10 print + shipping.
- Home Printing: Approximately $1.50–$3.50 per 8×10 (ink and paper included).
More importantly, the iterative value—the ability to print, tweak, and reprint within minutes—is an invaluable education for any serious visual artist.
Summary Checklist for a Perfect Print
- Clean your print heads if the printer has been idle for over a week.
- Check image resolution: Aim for 300 DPI (Dots Per Inch) at the physical print size.
- Match the media type: Ensure the printer settings (e.g., “Premium Glossy”) match the physical paper loaded.
- Let it dry: Pigment inks need 15–30 minutes to “gas out” before being framed or stacked.
By treating the print as the final stage of your creative process rather than an afterthought, you’ll find a new level of pride in your photography.