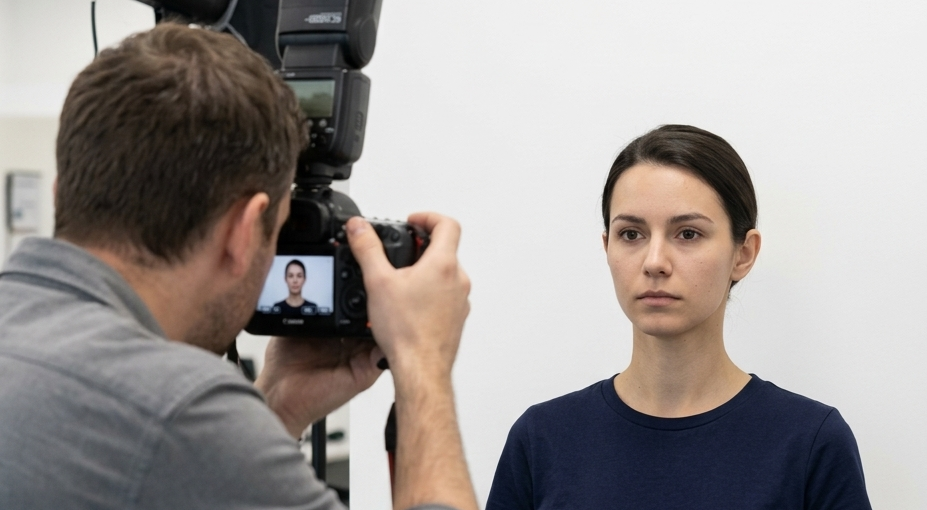
Printing passport photos at home has never been easier. With the right software, a standard printer, and a few simple techniques, you can create professional-quality passport or ID photos without visiting a studio. Not only does this save time and money, but it also gives you full control over how your photos look.
In this guide, you’ll learn exactly how to print passport photos at home with ease—from setup to final print—along with practical tips to ensure your photos meet official requirements.
Why Print Passport Photos at Home?
There are several reasons why more people are choosing to handle passport photos themselves:
- Cost savings: Avoid repeated trips to photo studios
- Convenience: Print anytime, right from your home
- Control: Adjust lighting, cropping, and color exactly how you want
- Flexibility: Print multiple copies instantly for different applications
For example, if you need photos for visas, ID cards, or travel documents for your entire family, printing at home can significantly streamline the process.
What You Need to Get Started
Before you begin, make sure you have the following:
- A digital photo (taken with a phone or camera)
- A photo editing/printing tool (such as ImagePrint)
- A printer (preferably with 300 DPI or higher resolution)
- Photo paper for best results
Most modern printers support high-quality photo printing, typically between 300 and 600 DPI, which is ideal for passport photos.
Step-by-Step: How to Print Passport Photos at Home

1. Set Up the Correct Page Size
The first and most important step is ensuring your document matches your printer paper size.
- Use standard sizes like A4 or Letter
- Match the page size in your software with the printer settings
- Set margins carefully (typically around 0.5 inches unless using borderless printing)
This ensures your printed output looks exactly like what you see on screen.
Use the “Repeat Image” Feature
To print passport photos efficiently, use a feature that duplicates the same image across the page.
This is especially useful because:
- Passport photos are small and identical
- You typically need multiple copies
- It maximizes paper usage
For instance, instead of printing one photo per page, you can fit several copies neatly aligned on a single sheet.
3. Choose the Correct Passport Photo Size
Different countries require specific dimensions for passport photos. A good tool will include predefined sizes for hundreds of countries.
If needed, you can:
- Select a standard size (e.g., 35×45 mm)
- Or manually enter custom dimensions
This ensures your photo meets official requirements without guesswork.
4. Crop and Align Your Photo
Proper cropping is essential for passport photos.
Use built-in tools to:
- Center your face correctly
- Adjust framing using guides (like rule of thirds or center lines)
- Ensure proper head size and spacing
For example, your head should typically occupy a specific percentage of the photo—too large or too small may result in rejection.
5. Adjust Lighting and Colors
Lighting can make or break your passport photo.
Make subtle adjustments to:
 Brightness (if the image is too dark)
 Contrast (to improve clarity)
 Saturation (for natural color tones)
 Temperature (to correct warm or cool color casts)
A helpful tip: start with auto-correct, then fine-tune manually for the best results.
6. Arrange Photos Efficiently on the Page
Using layout tools, you can:
- Align photos in a grid
- Control spacing between images
- Ensure everything fits within printable margins
This prevents photos from being cut off during printing.
7. Print and Test First
Before using expensive photo paper, always do a test print:
- Print on regular paper first
- Check alignment, size, and color
- Make adjustments if needed
Once satisfied, print the final version on photo paper for a professional finish.
Pro Tips for Perfect Passport Photos
- Use a plain background: White or light-colored works best
- Avoid shadows: Even lighting ensures clarity
- Check printer margins: Some printers cannot print edge-to-edge
- Use high resolution images: At least 300 DPI for sharp results
- Keep proportions accurate: Avoid stretching or distorting the image

Additionally, remember that what you see on your screen may differ slightly from the printed version—this is completely normal due to differences in display and print resolution.
Common Mistakes to Avoid
Even small errors can cause passport photos to be rejected. Watch out for:
- Incorrect photo size
- Misaligned face positioning
- Poor lighting or shadows
- Printing outside the printable area
- Using low-resolution images
Taking a few extra minutes to review your setup can save you from reprinting later.